
Create Custom User Store for ASP .NET Core Identity - .NET Core 3 Update
This post is an update to my previous post on how to create a custom user store in dotnet core 2. It contains updated code for working with dotnet core 3.x, the Visual Studio 2019 MVC project template, and updated screenshots. The end result is the same, an in-memory user store to plug into the ASP .NET Core Identity system.
In the previous post I looked at how to create a custom password hasher for ASP .NET Core Identity. In this post, I continue customizing the Identity system by creating a custom User Store. This is done by providing custom implementations to the IUserPasswordStore and IUserEmailStore interfaces. I'm going to create in-memory implementations of these two interfaces. This will not work in a real application because all the users are deleted when the application restarts but is good for demo purposes. This tutorial requires Visual Studio 2019 and dotnet core 3.x. The entire sample project is available on Github.
Create Starting Application
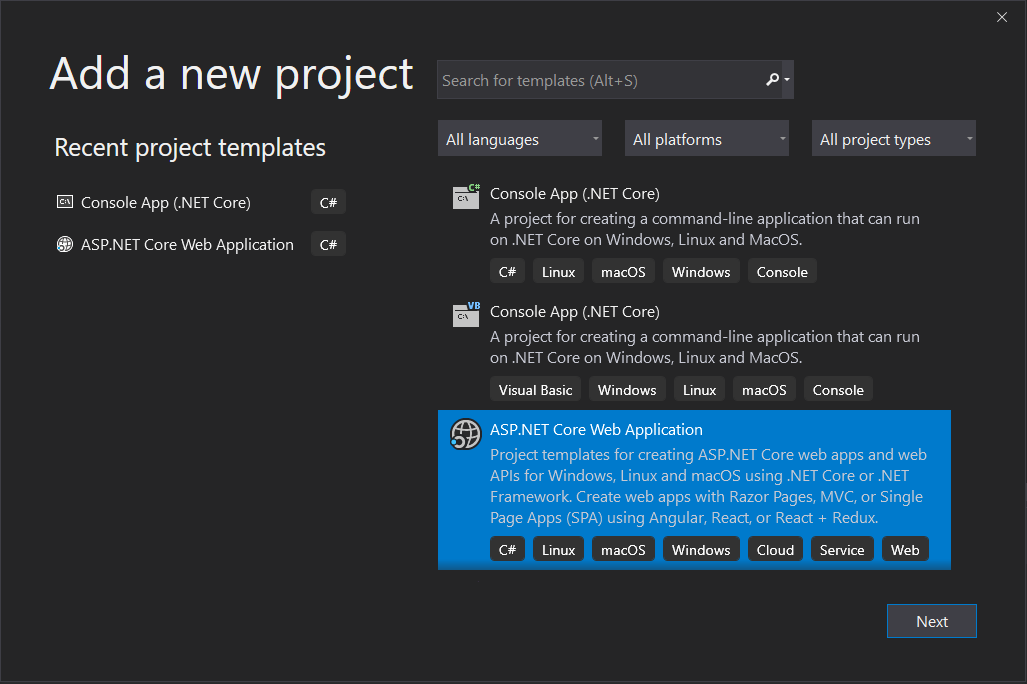
Start by opening Visual Studio 2019 and create a new ASP .NET Core Web Application project. Click Next.
Provide a name for the project. I named it
DotNetCoreAuthExamples.CustomUserStore but you can name it anything you like. Click Create.

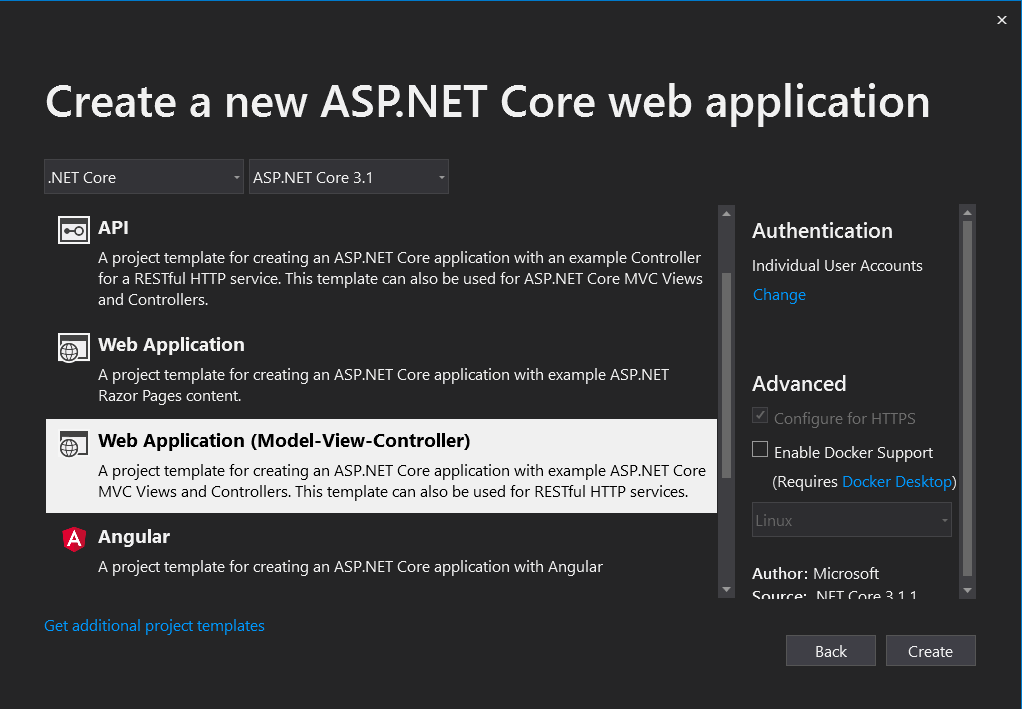
Choose
.NET Core and ASP.NET Core 3.x, depending on your version, from the dropdowns at the top. Select Web Application (Model-View-Controller) for the template and under the Authentication header click Change and pick Individual User Accounts. Click Create.
After the project is created, debug it from Visual Studio to make sure the template is working. After the web app loads, stop debugging. At this point we have an ASP .NET core web app project with basic user authentication. In the sections that follow, we will create our custom implementation.
Data Access
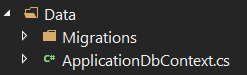
Since we're storing users in memory, we don't need the database so you can delete the Data folder.
The next step is to create the "data access" class to store the users in memory. This class has nothing to do with ASP .NET Core Identity but we need a place to perform basic CRUD operations on our in-memory list of users. Create a new C# class and name it
InMemoryUserDataAccess. The full class is below to copy and paste.
public class InMemoryUserDataAccess
{
     private List<IdentityUser> _users;
     public InMemoryUserDataAccess()
     {
         _users = new List<IdentityUser>();
     }
     public bool CreateUser(IdentityUser user)
     {
         _users.Add(user);
         return true;
     }

     public IdentityUser GetUserById(string id)
     {
         return _users.FirstOrDefault(u => u.Id == id);
     }

     public IdentityUser GetByEmail(string email)
     {
         return _users.FirstOrDefault(u => u.NormalizedEmail == email);
     }

     public IdentityUser GetUserByUsername(string username)
     {
         return _users.FirstOrDefault(u => u.NormalizedUserName == username);
     }

     public string GetNormalizedUsername(IdentityUser user)
     {
         return user.NormalizedUserName;
     }

     public bool Update(IdentityUser user)
     {
         // Since get user gets the user from the same in-memory list,
         // the user parameter is the same as the object in the list, so nothing needs to be updated here.
         return true;
     }
}
Create Custom User Store
The third step is to create the custom user store. The user store in ASP .NET identity can be a complex system of functionality. Luckily, this functionality is broken out into a series of interfaces so we can choose what functionality we want our user store to support. To keep it simple, we're going to implement the
IUserPasswordStore and IUserEmailStore interfaces. This is enough to get us started. There are a lot of other interfaces for handling claims, phone numbers, 2 factor authentication, account lockout, etc. This microsoft doc goes into more detail on all the store interfaces.
Create a new class named
InMemoryUserStore . The full implementation is below. Notice the dependency to InMemoryUserDataAccess we created above. I did not implement delete. I'll leave that up to you.
public class InMemoryUserStore : IUserPasswordStore<IdentityUser>, IUserEmailStore<IdentityUser>
{
    private InMemoryUserDataAccess _dataAccess;
    public InMemoryUserStore(InMemoryUserDataAccess da)
    {
        _dataAccess = da;
    }

    public Task<IdentityResult> CreateAsync(IdentityUser user, CancellationToken cancellationToken)
    {
        return Task<IdentityResult>.Run(() =>
        {
            IdentityResult result = IdentityResult.Failed();
            bool createResult = _dataAccess.CreateUser(user);

            if (createResult)
            {
                result = IdentityResult.Success;
            }

            return result;
        });
    }

    public Task<IdentityResult> DeleteAsync(IdentityUser user, CancellationToken cancellationToken)
    {
        throw new NotImplementedException();
    }

    public void Dispose()
    {

    }

    public Task<IdentityUser> FindByEmailAsync(string normalizedEmail, CancellationToken cancellationToken)
    {
        return Task<IdentityUser>.Run(() =>
        {
            return _dataAccess.GetByEmail(normalizedEmail);
        });
    }

    public Task<IdentityUser> FindByIdAsync(string userId, CancellationToken cancellationToken)
    {
        return Task<IdentityUser>.Run(() =>
        {
            return _dataAccess.GetUserById(userId);
        });
    }

    public Task<IdentityUser> FindByNameAsync(string normalizedUserName, CancellationToken cancellationToken)
    {
        return Task<IdentityUser>.Run(() =>
        {
            return _dataAccess.GetUserByUsername(normalizedUserName);
        });
    }

    public Task<string> GetEmailAsync(IdentityUser user, CancellationToken cancellationToken)
    {
        return Task<string>.Run(() =>
        {
            return user.Email;
        });
    }

    public Task<bool> GetEmailConfirmedAsync(IdentityUser user, CancellationToken cancellationToken)
    {
        return Task<bool>.Run(() =>
        {
            return user.EmailConfirmed;
        });
    }

    public Task<string> GetNormalizedEmailAsync(IdentityUser user, CancellationToken cancellationToken)
    {
        return Task<string>.Run(() =>
        {
            return user.NormalizedEmail;
        });
    }

    public Task<string> GetNormalizedUserNameAsync(IdentityUser user, CancellationToken cancellationToken)
    {
        return Task<string>.Run(() =>
        {
            return user.NormalizedUserName;
        });
    }

    public Task<string> GetPasswordHashAsync(IdentityUser user, CancellationToken cancellationToken)
    {
        return Task<string>.Run(() => { return user.PasswordHash; });
    }

    public Task<string> GetUserIdAsync(IdentityUser user, CancellationToken cancellationToken)
    {
        return Task<string>.Run(() =>
        {
            return user.Id;
        });
    }

    public Task<string> GetUserNameAsync(IdentityUser user, CancellationToken cancellationToken)
    {
        return Task<string>.Run(() =>
        {
            return user.UserName;
        });
    }

    public Task<bool> HasPasswordAsync(IdentityUser user, CancellationToken cancellationToken)
    {
        return Task<bool>.Run(() => { return true; });
    }

    public Task SetEmailAsync(IdentityUser user, string email, CancellationToken cancellationToken)
    {
        return Task.Run(() => {
            user.Email = email;
        });
    }

    public Task SetEmailConfirmedAsync(IdentityUser user, bool confirmed, CancellationToken cancellationToken)
    {
        return Task.Run(() =>
        {
            user.EmailConfirmed = confirmed;
        });
    }

    public Task SetNormalizedEmailAsync(IdentityUser user, string normalizedEmail, CancellationToken cancellationToken)
    {
        return Task.Run(() =>
        {
            user.NormalizedEmail = normalizedEmail;
        });
    }

    public Task SetNormalizedUserNameAsync(IdentityUser user, string normalizedName, CancellationToken cancellationToken)
    {
        return Task.Run(() =>
        {
            user.NormalizedUserName = normalizedName;
        });
    }

    public Task SetPasswordHashAsync(IdentityUser user, string passwordHash, CancellationToken cancellationToken)
    {
        return Task.Run(() => { user.PasswordHash = passwordHash; });
    }

    public Task SetUserNameAsync(IdentityUser user, string userName, CancellationToken cancellationToken)
    {
        return Task.Run(() =>
        {
            user.UserName = userName;
            user.NormalizedUserName = userName.ToUpper();
        });
    }

    public Task<IdentityResult> UpdateAsync(IdentityUser user, CancellationToken cancellationToken)
    {
        return Task<IdentityResult>.Run(() =>
        {
            IdentityResult result = IdentityResult.Failed();
            bool updateResult = _dataAccess.Update(user);

            if (updateResult)
            {
                result = IdentityResult.Success;
            }

            return result;
        });
    }
}
Configure Services
The dependency injection support in ASP .NET Core MVC makes it easy to use our implementation. The
ConfigureServices method in the Startup class is where we inject our custom classes. First add the InMemoryDataAccess class as a singleton to store our list of users. Add this line services.AddSingleton<InMemoryUserDataAccess>();. Now we need to tell the Identity system to use our custom user store. Replace the EntityFramework user store with our own by adding .AddUserStore<InMemoryUserStore>();. We can also remove references to ApplicationDbContext and the Data namespace because we're not using Entity Framework anymore. The final ConfigureServices method is below.
public void ConfigureServices(IServiceCollection services)
{
    services.AddSingleton<InMemoryUserDataAccess>();
    services.AddDefaultIdentity<IdentityUser>(options => options.SignIn.RequireConfirmedAccount = true)
        .AddUserStore<InMemoryUserStore>();
    services.AddControllersWithViews();
    services.AddRazorPages();
}
Test It
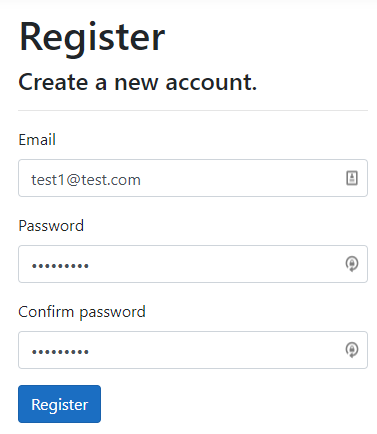
The only thing left to do is test. Build and debug the project from Visual Studio. Click the Register button in the upper right corner. Enter an email and password and confirm the password and click Register.
A Register confirmation page loads next. Click "Click here to confirm your account".

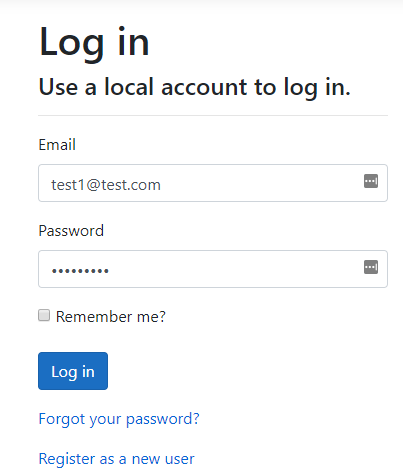
The home page loads. Click "Login" in the upper right. Enter the email and password that you just registered and click the login button.
The homepage reloads and the Register button is replaced with a greeting Hello <email>! Click the Logout link next to this greeting and it redirects to the home page with the Register and Login links. If you stop and restart debugging that user will no longer exist because they were only stored in memory.
Conclusion
That concludes how to setup a basic custom user store for ASP .NET Core Identity. The full code example is on GitHub. We created a custom class implementing only the interfaces we needed and used dependency injection to swap implementations. User management is a complex topic with many features available for both security and user experience. Hopefully, this is a good starting point for customizing specific features around user management in your ASP .NET Core application.
